User Guide
URL: https://tickets.ecmnetworks.ca
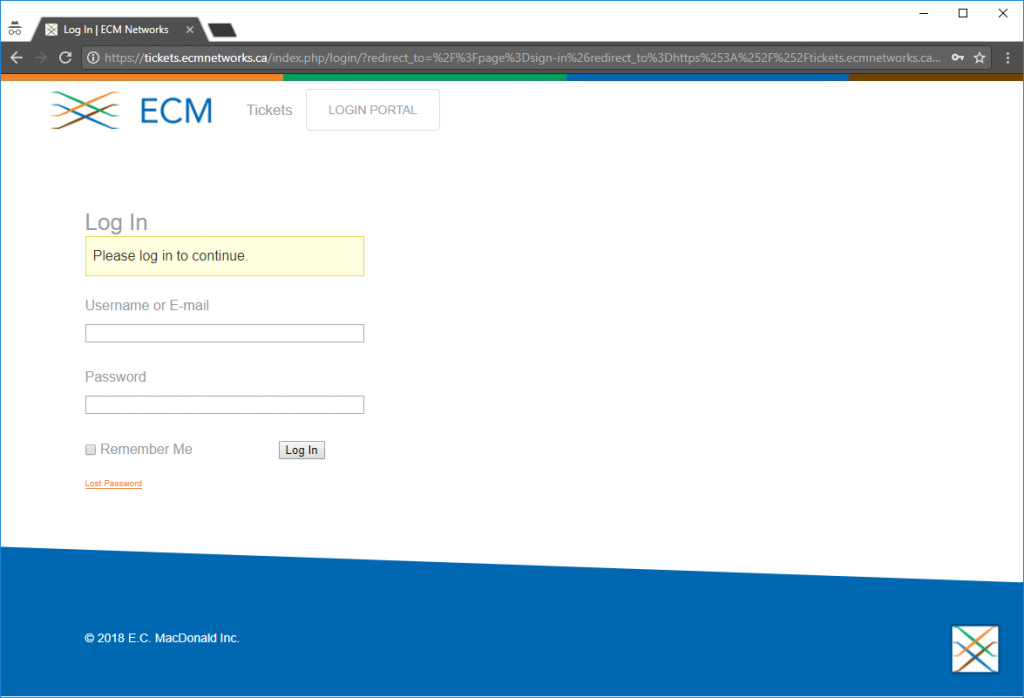
Login
– Login using your ECMNETWORKS username and password (no need to enter the domain name anymore)
– Once logged in, you will see a screen similar to the request list in SDP. It’s functionality is similar.
Ticket List
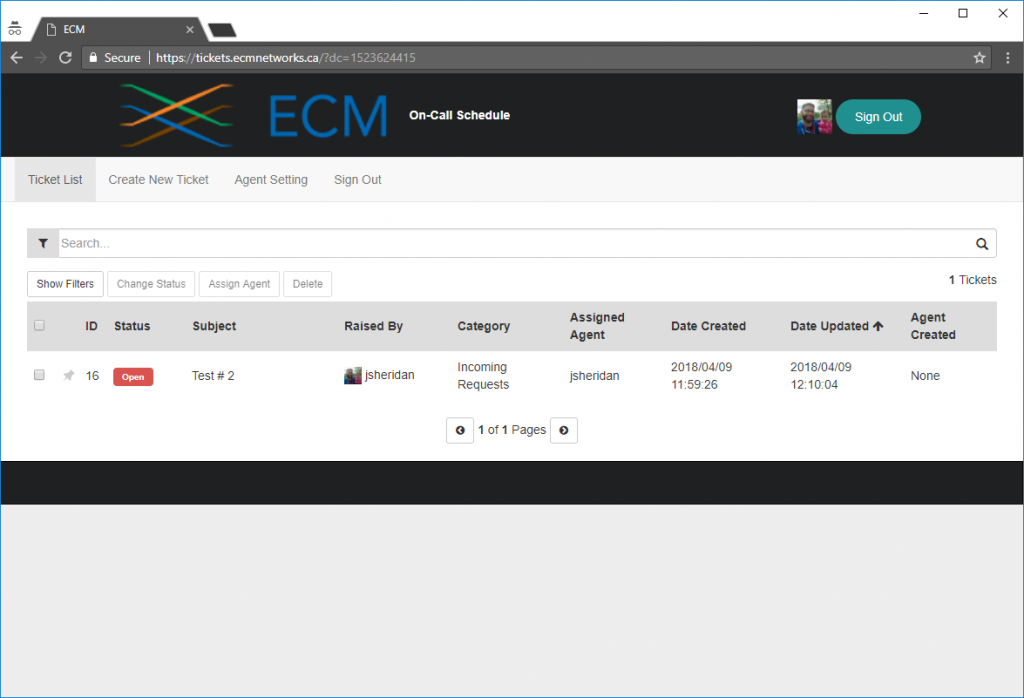
– In order to narrow down your search, you can either type in the search field (next to the funnel icon) or you can click the “Show Filters” button. This will open the filter options list. Here you can narrow down your search. From here I would recommend creating a custom filter for yourself where your username is in the “Assigned Agent” field. This will only show tickets assigned to yourself.
The filter will remain active even if you hide filters.
Create New Ticket
– To create new tickets, click the “Create New Ticket” button. It will bring you to a form to populate (similar to SDP).
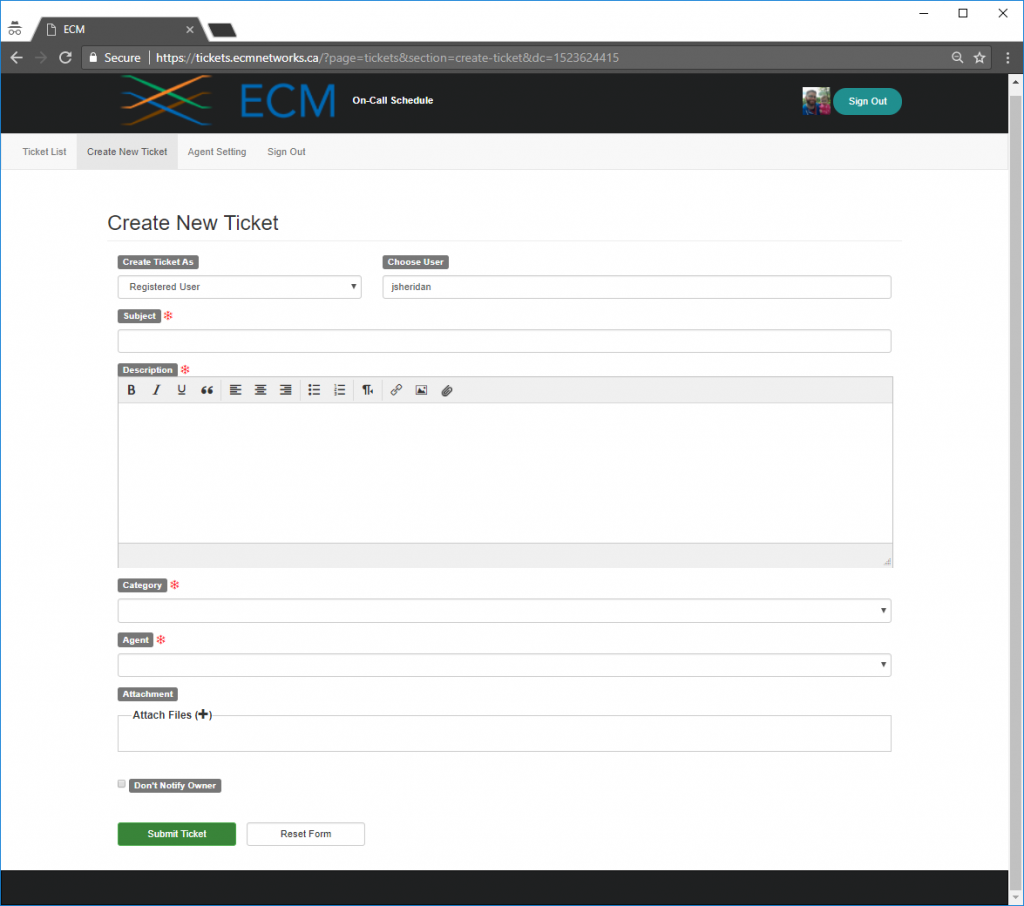
Here is a break down of each of these fields:
Create Ticket As: Please disregard this and leave it as the default. The system has the option to allow non registered users the ability to create tickets as guests, but we would prefer to have them in our system before a ticket gets created.
Choose User: Enter the name of the user who is making the request (the client or site contact). Just start typing their name, and a list will pop down with users. If the user you are trying to add does not exist, you can put yourself for now and contact me in order to add them into our system.
Subject: Subject of the ticket you are creating. As the new system has far less functionality than SDP I would recommend you start the ticket with the site name to make searching for the tickets much easier down the line.
Description: A detailed description of the work requried.
Category: A drop down list of possible categories this work falls under, please select the most relevant.
Agent: A drop down list of all of ECM employees, please select yourself if the ticket is for you, or anyone else if you are creating the ticket for someone else.
Don’t Notify Owner: Check this box if you do not want to email the person who is in the “choose user” field. The Assigned Agent will still receive an email.
Submit Ticket: Saves the form and creates the ticket. The ticket will now be visible in the ticket list page.
Reset Form: Clears the form in order to start over again.
Agent Settings
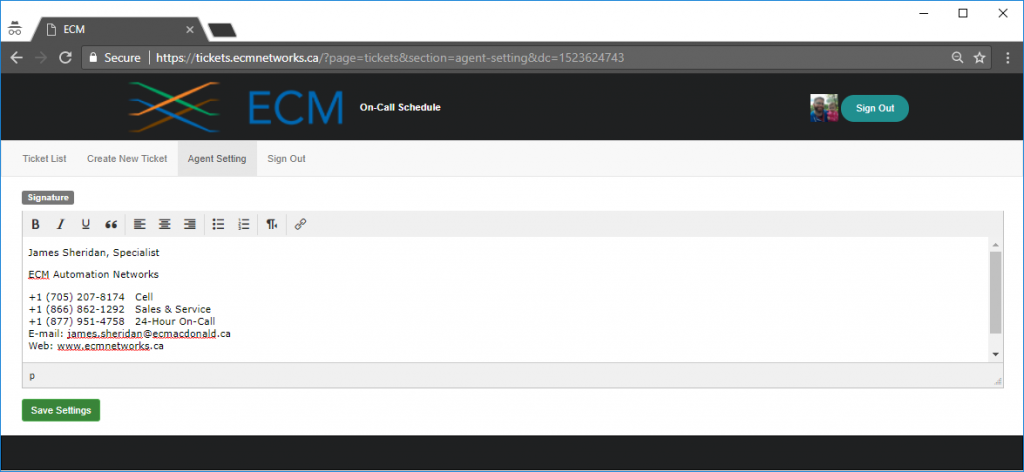
– If you would like to have a user signature, this is where you can add it.
Sign Out
– Sign out of the system
I have also added some additional pages to this system as it is WordPress based, there might be more in the future as well.
On-Call Schedule
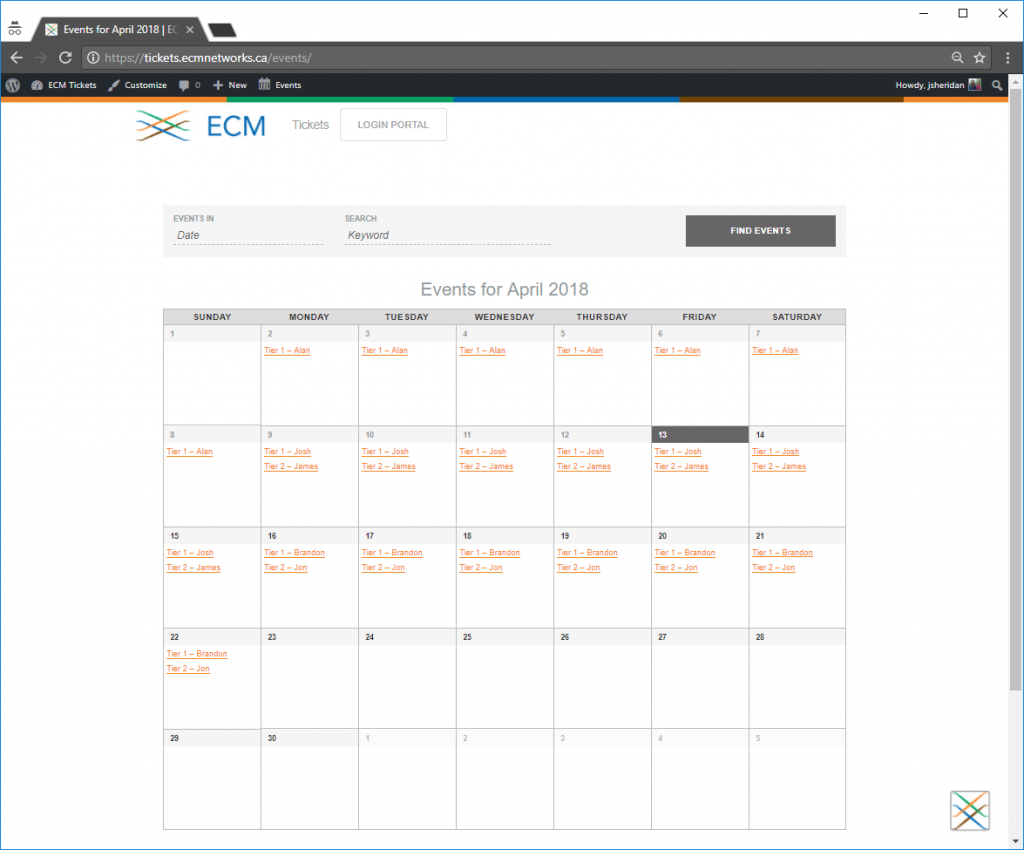
– This is to replace the PDF copy of the on-call schedule that Jon would hand out whenever he would update the on-call schedule. If you click on an “event” it will have the persons contact info readily available. This is just to make things more readily available.
Transition Guide
– This Guide
SDP
– Once we start using WP Support Plus, SDP will no longer be reachable from the internet, this link will bring you to SDP, you may need to login using a shared account, check your email for instructions on this.
E-MAIL FUNCTIONALITY
– There will be a few things to consider during the transition to the new ticketing system in regards to how e-mail will be handled. Please pay close attention to these as they may cause unnecessary emails to our clients.
The new system will now receive emails sent to tickets@ecmacdonald.ca and the old one (SDP) will accept emails from ECMSupport@ecmacdonald.ca if you still need to update tickets.
In order to cut back on unwanted ticket creation on the new system, it is set to completely ignore emails with “SDP” In the subject.